
How to Prepare Your Home for Siding Installation

Homeowners often look forward to siding installation because it refreshes a home's appearance and protects against the elements. The process, however, can be disruptive without proper preparation. Planning makes installation smoother and protects your property from unnecessary damage. Preparing your home before the siding crew arrives ensures better results, safer working conditions, and long-term durability.
Understanding the Siding Installation Process
Siding installation involves removing old materials, inspecting the surface, and attaching new panels securely. Each stage affects the quality and longevity of the finished exterior. Homeowners who understand these steps can prepare their homes more effectively and avoid unnecessary setbacks. This understanding allows for better communication with contractors and smoother project execution.
Why Preparation Matters Before Siding Installation
Preparation streamlines the installation process and minimizes costly surprises. When the work area is clear, crews can focus on precision rather than moving obstacles. Clean surfaces help siding panels attach tightly and resist moisture penetration. Homeowners who prepare thoroughly also help prevent last-minute repairs that disrupt schedules. This proactive approach keeps the project efficient and supports siding durability. Well-prepared homes ultimately experience smoother installation and stronger long-term protection.
Common Challenges During Siding Installation
Challenges often arise from unaddressed moisture damage, uneven walls, or cluttered work zones. Weather interruptions, poor access, and inadequate repairs can also delay completion. By preparing ahead, homeowners help crews work safely and efficiently without needing repeated adjustments. Inspecting walls and clearing outdoor spaces considerably reduces these risks. Preparation also prevents costly mistakes that could affect siding performance or appearance. Taking time to prepare creates a more predictable installation experience and a lasting result.
How Proper Prep Shapes Siding Installation Results
Preparing your home before siding installation determines how smoothly the project unfolds. A strong start reduces costly setbacks and allows installers to work precisely and confidently. Taking time to inspect, clean, and organize your exterior ensures siding adheres correctly and looks professional once complete. Proper preparation sets the foundation for siding that enhances curb appeal and stands the test of time.
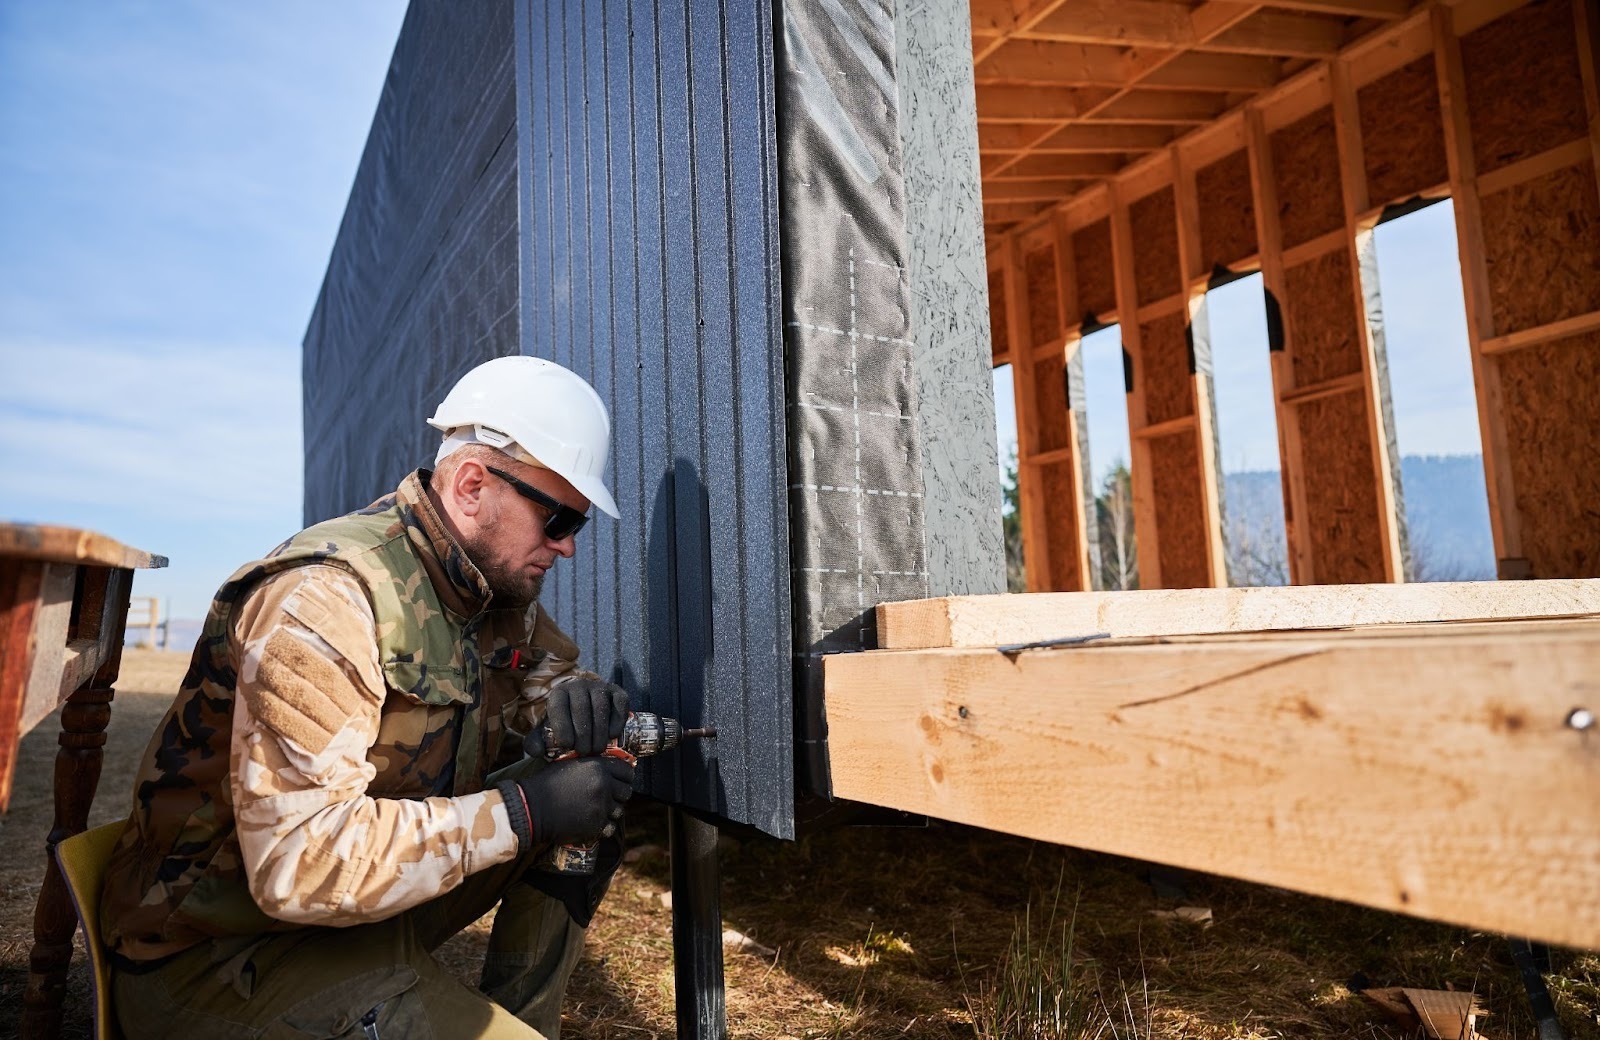
Inspect and Repair the Home Exterior
Inspecting the exterior before siding installation protects your investment and ensures a stable foundation. Even small cracks or damp patches can grow into structural problems once covered. Identifying these issues now prevents future moisture or pest infiltration. Addressing them also gives the new siding a clean, even surface to adhere to.
Check for Water, Rot, and Pest Damage
Water stains, peeling paint, or soft wood often signal hidden decay. Probe suspect areas near eaves, windows, or baseboards to test their strength. Look for tiny holes or sawdust piles that suggest insect activity. If large areas show signs of damage, contact a licensed inspector for a detailed assessment. These evaluations uncover deeper issues that homeowners might miss. Repairing these problems before installation helps the new siding protect the home more effectively for years.
Repair Damaged Surfaces Before Installation
Once damage is detected, repair it promptly to prevent further deterioration. Replace weakened boards, reinforce framing, and apply sealant to joints that allow water entry. Smooth and level surfaces create a better foundation for siding panels. If left uneven, panels may warp or crack after exposure to temperature shifts. Sealing cracks also improves insulation and reduces air leaks. This careful preparation ensures the siding sits evenly and performs reliably over time.
Seal and Treat the Walls for Long-Term Protection
Sealing exterior walls prevents water penetration and mold formation. Apply a vapor barrier or house wrap to block moisture from entering the structure—Caulk around windows and door frames for a tight seal. Homeowners with wooden exteriors should use weather-resistant primer or treatment to prevent decay. These protective layers increase siding durability and energy efficiency. They also reduce maintenance costs while keeping your home secure in varying climates.
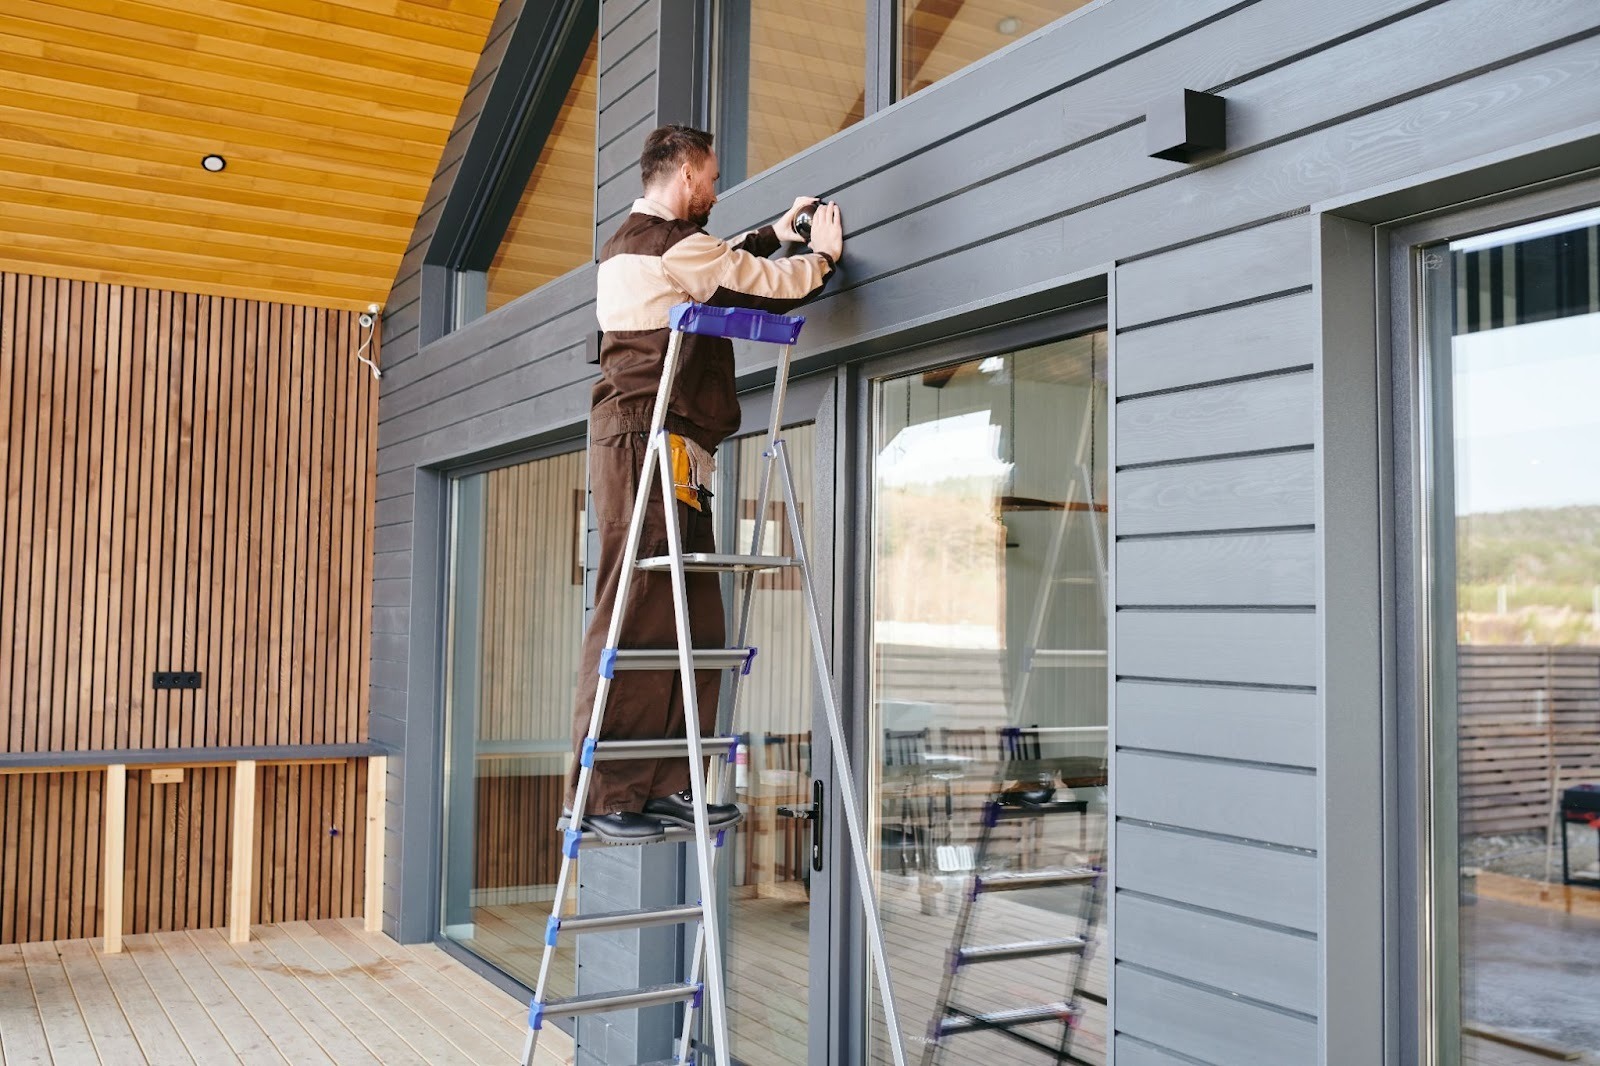
Clear the Work Area for Siding Installation
A clean and open workspace is essential for safe and efficient siding installation. Siding contractors need enough room to move tools and panels around the property. Clutter or obstacles can slow down progress and raise the risk of damage. Preparing outdoor areas in advance keeps the project organized and reduces potential hazards.
Move Outdoor Furniture, Vehicles, and Décor
Move vehicles away from the work zone to give trucks and crews full access. Relocate patio sets, decorations, and storage bins to a garage or shed. Even small items like planters can obstruct ladders or create tripping risks. Label your stored items for easy retrieval once the project ends. This organization saves time and keeps your belongings intact. A clear workspace also allows workers to focus on precision without unnecessary interruptions.
Protect Landscaping, Driveways, and Garden Areas
Use tarps or light coverings to protect plants, lawns, and garden beds from falling debris. Avoid heavy materials that could crush shrubs or flowers. Cover concrete or paved surfaces to prevent scratches and stains from tools. If you have irrigation systems, flag or mark them before the crew arrives. This precaution prevents accidental damage during installation. Maintaining your landscape's health throughout the project enhances your home's curb appeal.
Clear Pathways and Access Points
Ensure that sidewalks, gates, and driveways remain open for material delivery and crew movement. Remove any clutter, hoses, or loose items from common walkways. If you have pets, set up barriers to keep them away from work zones. These steps help avoid delays and maintain safety during active construction. Organized access points make it easier for installers to maneuver ladders and panels. A smooth setup shortens project time and keeps your property orderly.
Prepare the Inside of Your Home
While siding installation happens outside, the vibrations and dust often reach indoors. Taking small steps inside your home helps reduce disruption and damage. The process may create noise, so families should plan accordingly. Preparing both exterior and interior spaces keeps the experience comfortable for everyone.
Remove Wall Hangings and Fragile Items
Remove artwork, photos, and wall-mounted shelves on exterior-facing walls. Vibrations from hammers and drills can shake these items loose. Store fragile decorations and collectibles safely in another room. Use padded boxes for glass or ceramic pieces to prevent breakage. Recheck walls after installation for nail holes or shifting. Protecting valuables this way ensures peace of mind during construction.
Minimize Dust and Manage Noise
Dust and debris often enter through vents, windows, and small openings. Cover furniture and seal window frames with painter's tape or plastic sheets. Discuss daily work hours with your contractor to plan quiet times for your household. If you have pets or children, arrange activities away from noisy areas. These steps make living through siding installation easier and less disruptive. Good communication about schedules also keeps everyone comfortable throughout the project.
Adjust HVAC and Electrical Settings
Turn off or cover outdoor electrical outlets to avoid short circuits. Check HVAC vents near work areas to prevent dust from entering your system. Temporarily disconnect exterior lighting or motion sensors. After completion, clean and reconnect them to restore functionality. These precautions avoid minor electrical issues during siding installation. Regular checks afterward confirm that systems remain safe and efficient.
Coordinate With Your Siding Contractor
Working closely with your siding contractor keeps the project organized and stress-free. Communication ensures that both parties understand the goals, schedule, and expectations. When everything is clearly outlined, installation progresses faster and with fewer interruptions. Coordination helps maintain trust and quality throughout the entire process.
Confirm Work Schedule and Access
Discuss start dates, estimated completion times, and daily work hours with your contractor. Prepare your driveway and yard for equipment and materials. Keep gates unlocked during the day for easier access. Communicate any household restrictions, such as quiet hours or pet areas. This collaboration avoids unnecessary misunderstandings and project delays. When homeowners and contractors stay aligned, the siding installation moves efficiently.
Review Material Storage and Waste Disposal
Plan where siding materials will be delivered and stored before installation begins. Keep storage areas flat, dry, and away from high-traffic spots. Ask how the crew handles debris, old siding, and recycling. Clear waste disposal plans maintain a clean, hazard-free property. This preparation ensures your home remains organized from start to finish. A well-maintained site contributes to better craftsmanship and project satisfaction.
Discuss Project Scope and Special Instructions
Confirm color selections, siding direction, and trim details with your contractor in writing. Go over any specific features, such as accents or window framing. Ask questions about installation methods or materials used. Verify that all agreements match your expectations before work begins. Clear documentation protects both the homeowner and contractor from confusion. This step guarantees the outcome aligns with your vision.
Maintain Safety During Siding Installation
Safety measures protect homeowners, workers, and property throughout the project. Siding installation involves ladders, sharp tools, and heavy materials. Setting clear boundaries and following safety procedures keeps everyone secure. Homeowners who stay aware help prevent accidents and keep progress steady.
Keep Family and Pets Safe
Keep children and pets indoors during active work hours. Use caution tape or temporary fencing to mark off restricted areas. Assign one family member to communicate with the crew when needed. This coordination ensures safety without slowing progress. Regularly check that all gates and entryways remain closed. A structured routine helps maintain order throughout the installation period.
Maintain a Clean and Safe Work Zone
Ask the contractor to remove nails, scraps, and unused panels daily. Walk around the yard occasionally to confirm pathways remain clear. Secure tools and ladders away from entryways when not in use. Proper cleanup minimizes risks for both workers and residents. Clean work zones also reflect professionalism and care from the contractor. A safe environment contributes to higher-quality craftsmanship overall.
Conduct a Final Walkthrough Before Installation
A final inspection ensures your home is fully ready for siding installation. This review helps spot unfinished repairs, cluttered areas, or access problems. Homeowners and contractors can confirm that everything meets safety and quality standards. A careful walkthrough reduces last-minute surprises and builds confidence in the process.
Verify Wall Readiness and Surface Conditions
Examine the exterior for smooth, dry, and stable surfaces. Remove any leftover nails, debris, or tools. Pay attention to corners, windows, and baseboards where water might collect. Ensure that primer, sealant, or wrap is applied correctly. A clean and prepared surface helps siding attach evenly and securely. Completing these steps sets the foundation for a flawless installation.
Review Final Details and Expectations
Review the color, texture, and layout of siding panels with your contractor. Confirm that all materials match what was ordered and delivered. Double-check project start times and expected completion dates. Address any final concerns before construction begins. This conversation builds trust and prevents confusion during installation. Clear communication at this stage guarantees that both sides share the exact expectations.
Set the Stage for a Perfect Siding Installation Project
A flawless siding installation starts long before the first panel is placed. Every bit of preparation builds the foundation for a durable, visually striking finish. When your home is ready, contractors can focus on craftsmanship instead of corrections, saving time and stress. Begin your preparation with intention, and your home will reward you with siding that looks exceptional, performs reliably, and stands strong for years.
Visit the Faircloth Roofing, Inc. blog to learn how thoughtful preparation turns every siding installation into a lasting success story.
Faircloth Roofing Inc.
Locally owned roofing company serving Raleigh, Clayton, and surrounding areas in Wake and Johnston County. Licensed, insured, and trusted by homeowners across the Triangle.